Quick Start
This blog gives the fast steps to building the development environment of MiniGUI 4.0 or MiniGUI 3.2.
Building MiniGUI 4.0
Prerequisites
First, make sure that you are using Ubuntu 16.04 LTS or 18.04 LTS.
You should run sudo apt install <package_name> to install the following packages on your Ubuntu system.
- Building tools:
- git
- gcc/g++
- binutils
- autoconf/automake
- libtool
- make
- cmake
- pkg-config
- Dependent libraries:
- libgtk2.0-dev
- libjpeg-dev
- libpng12-dev (libpng-dev on Ubuntu 18.04 instead)
- libfreetype6-dev
- libinput-dev
- libdrm-dev
- libsqlite3-dev
- libxml2-dev
- libssl1.0-dev
- electric-fence (used by mg-tests)
Note that if you are using Ubuntu 18.04, please install libpng-dev. Ubuntu 18.04 does not provide support for libpng12-dev.
Steps
Please make sure that you can visit GitHub and you can do sudo on your Ubuntu system.
-
Clone
build-minigui-4.0repository from GitHub:$ git clone git@github.com:VincentWei/build-minigui-4.0.git $ cd build-minigui-4.0 -
Copy
config.shtomyconfig.shand editmyconfig.shto match your needs:$ cp config.sh myconfig.sh -
Run
fetch-all.shto fetch all source code from GitHub:$ ./fetch-all.sh -
Run
build-deps.shto build and install gvfb, chipmunk, and harfbuzz:$ ./build-deps.sh -
Run
build-all.shto build all:$ ./build-all.sh -
Run
mguxdemo:$ cd /usr/local/bin $ ./mguxdemo
When there is any update in the remote repos, you can run update-all.sh to update. You can run clean-build-all.sh to uninstall, clean, and re-install them.
Note that you might need to run ldconfig to refresh the shared libraries cache before running mguxdemo.
Commands to build dependencies
The following steps are the ones in build-deps.sh. We list them here for your information:
-
Make and install
gvfb:$ cd gvfb $ cmake . $ make; sudo make install $ cd .. -
Make and install
chipmunklibrary (DO NOT use thechipmunk-devpackage which is provided by Ubuntu):$ cd 3rd-party/chipmunk $ cmake . $ make; sudo make install $ cd ../.. -
Make and install
harfbuzzlibrary (DO NOT use theharfbuzz-devpackage which is provided by Ubuntu):$ cd 3rd-party/harfbuzz $ ./autogen.sh $ ./config-extern.sh $ make; sudo make install $ cd ../..
Building MiniGUI 3.2
Prerequisites
First, make sure that you are using Ubuntu 16.04 LTS.
You can run apt install <package_name> to install the software on Ubuntu.
- Building tools:
- git
- gcc/g++
- binutils
- autoconf/automake
- libtool
- make
- cmake
- pkg-config
- Dependent libraries:
- libgtk2.0-dev
- libjpeg-dev
- libpng12-dev
- libfreetype6-dev
- libsqlite3-dev
- libxml2-dev
- libssl-dev
Steps
Please make sure that you can visit GitHub via SSH and you can do sudo on your Ubuntu systme.
-
Clone
build-minigui-3.2repository from GitHub:$ git clone git@github.com:VincentWei/build-minigui-3.2.git $ cd build-minigui-3.2 -
Run
fetch-all.shto fetch all source code from GitHub:$ ./fetch-all.sh -
Make and install
gvfb:$ cd gvfb $ cmake . $ make; sudo make install $ cd .. -
Make and install
chipmunklibrary (DO NOT use the chipmunk-dev package which is provided by Ubuntu):$ cd 3rd-party/chipmunk-5.3.1 $ cmake . $ make; sudo make install $ cd ../.. -
Install MiniGUI resources:
$ cd minigui-res $ ./augen.sh $ ./configure $ sudo make install $ cd .. -
Run
build-all.shto build all:$ ./build-all.sh -
Run
mguxdemo:$ cd /usr/local/bin $ ./mguxdemo
When there is any update in the remote repos, you can run update-all.sh to update. You can run clean-build-all.sh to uninstall, clean, and re-install them.
Note that you might need to run ldconfig to refresh the shared libraries cache before running mguxdemo.
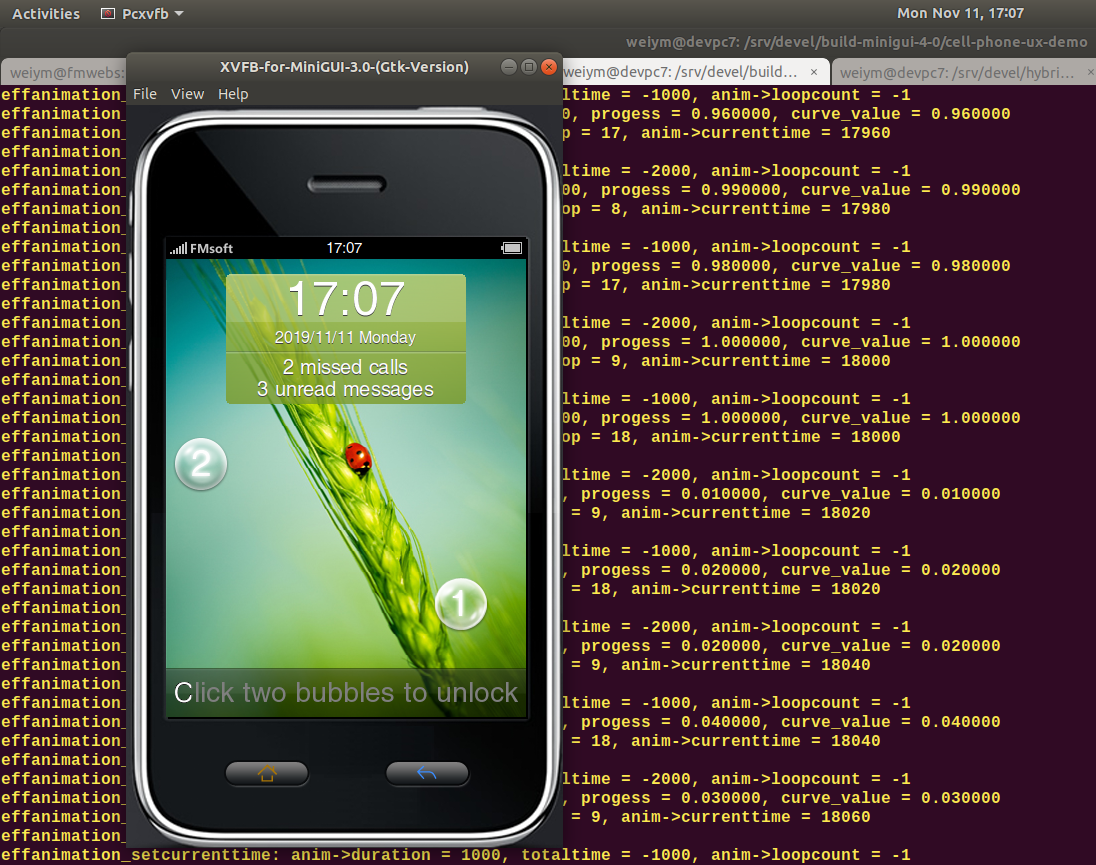
Screenshot
The following figure shows the Linux terminal and the demo runs in GVFB.
Further Reading
For the detailed description, please refer to Quick Start of MiniGUI User Manual.